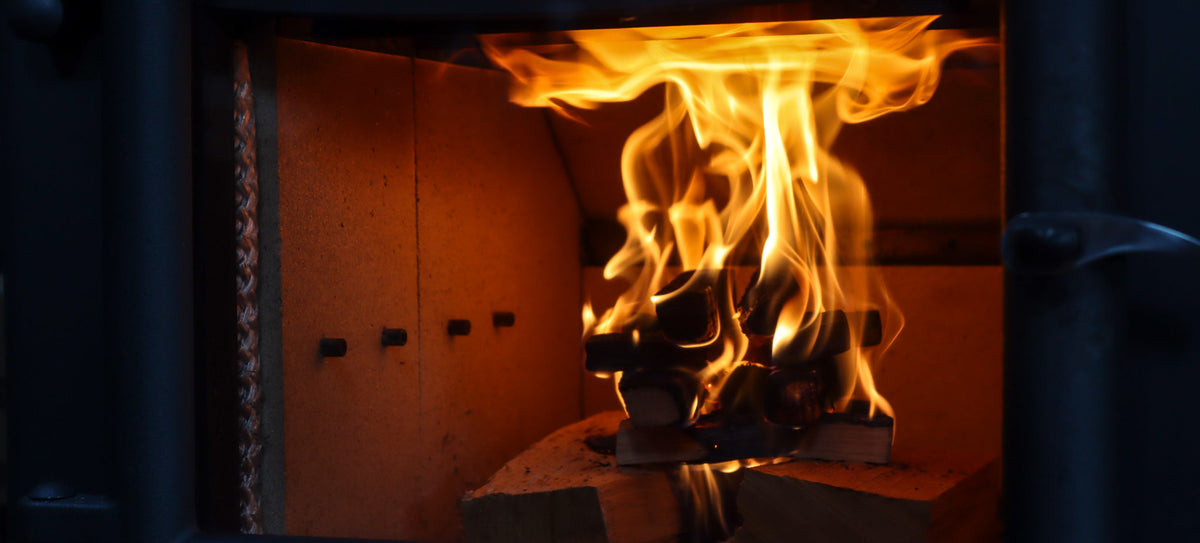

Lighting your log burner doesn't have to be a hassle! By using the top-down firelighting method , you'll learn how to light a log burner quickly and easily.
This technique eliminates the need for any active fire management, using just one match to light a clean burning fire that won't need topping up for ages!
Watch our simple step-by-step guide below:
The Step by Step
What you need to light a fire from the top down in your log burner:
- Good quality kiln-dried hardwood logs logs with less than 20% moisture
- Super dry kindling
- Natural firelighters
- Extra long matches
- Heatproof gloves
- Fireside companion set
You can get everything you need below:
1. Lay a couple of the thickest logs across the bottom of your fire
It's best to have a thin layer of ash underneath, don't clean your stove out fully each time!
2. Find some thinner logs and start to build the fire upwards
Stack the thinner logs at 90° in a log cabin formation, allowing for lots of airflow through the stack.
3. Stack the kindling in another log cabin on top of the logs
Add a log cabin of 6-8 pieces of kindling, again with the thinner pieces at the top.
4. Add one or two natural firelighters to the top of the kindling
Make sure the firelighters aren't crowded by the kindling and have plenty of room to breathe.
5. Light it up!
Use an extra long match to light your natural firelighters.
6. Allow maximum airflow into your log burner
Make sure the vents are all wide open, and staying close, leave the door ajar for around 5 minutes.
7. Check on the progress of the fire
Close the door once your kindling stack is ablaze and the thinner logs are catching.
8. Sustain a clean burning fire
You should have a roaring fire and you want to keep it that way, so leave your vents open.
Found this useful?
We'd love it if you shared it with your fellow log burner enthusiasts!


