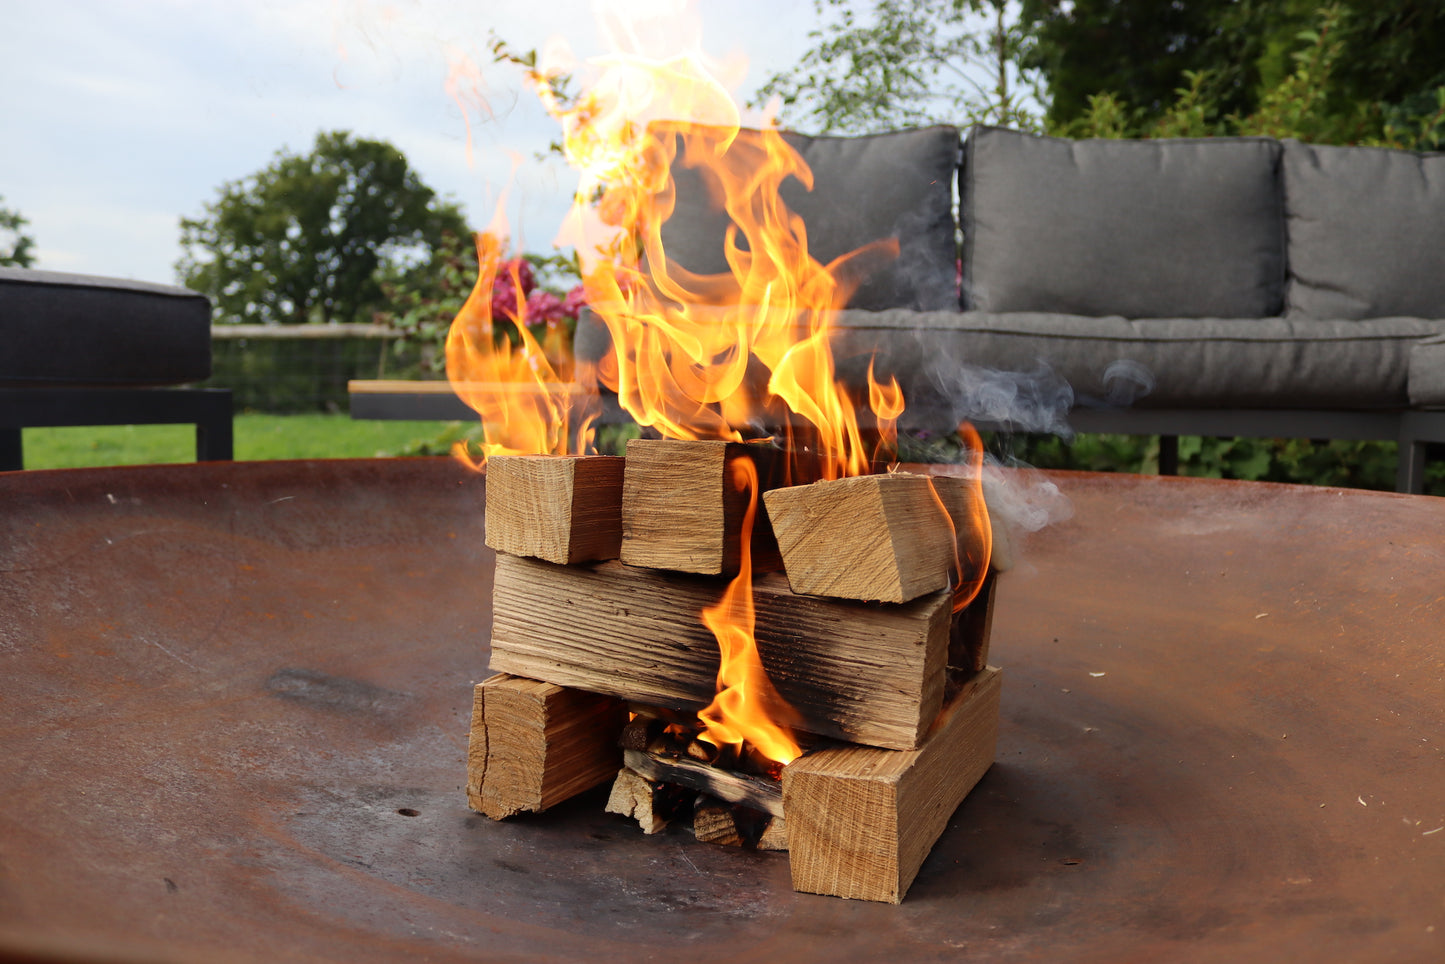
Now that we can finally socialise again, you've bought yourself a fire pit gather round with your friends. Now you need to know how to light a fire!
Lighting a fire is one of those things in life where the quality of your tools is probably more important than the quality of your knowledge - but let's get you equipped with both!
There are two schools of thought when it comes to fire lighting – bottom up and top down. Both are effective, so I'll show you both methods and you can decide which you prefer.
Top down fire lighting
Forget everything you think you know about firelighting!
Top down fire lighting is exactly that – the fire is lit at the top, and the heat and flame chases downwards into a pre-built fire stack. You wouldn’t think it would work, but trust me it does!
First, lay your thickest logs in a row in your firepit.
Add another row of thick logs to build the heart of the fire, then a row or two of thinner logs.
Add a kindling stack built in the same way, then top with firelighters and light with a match. Trust me, this works brilliantly with high quality firewood.
Bottom up fire lighting
For the less adventurous amongst us, there’s old faithful – bottom up fire lighting. You light a central mass of tinder (in this case, firelighters) and kindling, and the fire propagates naturally upwards to the larger firewood.
Start with a layer of kindling to act as a base, and add a couple of firelighters.
Build a kindling stack around the fireighters, using your smallest kindling closest to the flame and a thicker layer on top.
Use two logs to build the foundation of your fire.
Build two or three layers of firewood in a lattice, like the walls of a log cabin.
Finally you can light it! The firelighters can be quite tucked away by now, so you'll want some extra long matches to easily get a flame to the centre of the structure.
For more hints, tips and pizza pics, you can subscribe to our newsletter below.


